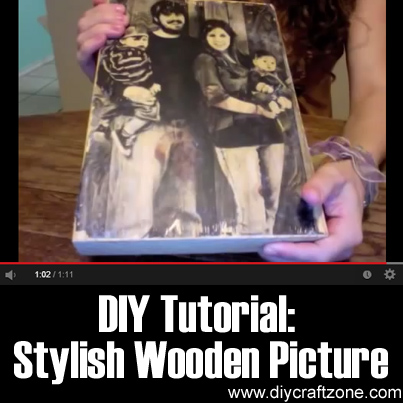
 DIY Tutorial: Stylish DIY Wooden Picture
Photo – https://www.youtube.com/watch?v=_NjYbAAQ4vw
If you have a stack of pictures that you’d like to display at home, this unique method of transfering a picture onto a piece of wood will make your room decor look so interesting and stylish! This is a great project and can create amazingly effective results.
This DIY video by Crystal Hethcote uses a very useful product: gel medium. The effect wouldn’t be possible without this. It’s an acrylic based product and it is available in different types and finishes. A gel medium is usually used as a glue, a paint or a decoupage material.
Tools and Materials Needed:
1. A Block of Untreated, Light Colored Wood
2. A Picture of Your Choice That Is Printed on Thin Paper (this makes it easier for you to transfer the picture onto the wood)
3. Mod Podge
4. Paint Brush
5. Sandpaper
6. A Wet Washcloth
Comments/Suggestions:
1. Make sure that the surface of the wood is smooth. Use sandpaper to ensure that there aren’t any rough edges.
2. Use a rolling pin, an empty bottle of wine or a sturdy paint roller to smooth out any air pockets during the process of sticking the printed paper onto the surface of the wood.
2. Try to print pictures in a sepia tone. It will create an artsy vibe to your wood “art”.
3. There are different kinds of Mod Podge that are available in the market right now. Try using the one that’s in an “antique-matte” finish. It will make your project look more interesting.
4. If you have a big plank of wood at home, you can ask someone to cut it up and use the small pieces to make mini wooden pictures. Give these out to your friends! Print out the pictures of the fun moments that you’ve had with them. You can also write a short but sweet message on the back of each wooden picture.
5. Use a gloss gel medium to make your pictures look more outstanding. Also, don’t scrimp on the amount. The more gel medium that you use to cover the wood, the easier it would be for the picture to transfer.
Ok, here is the video:
