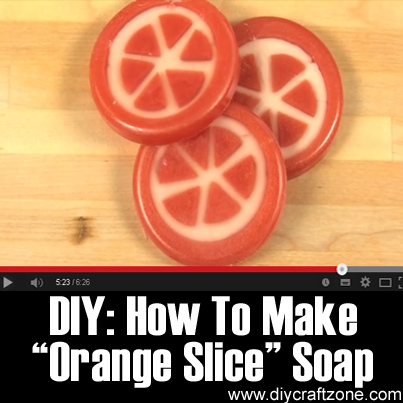
 DIY: How To Make “Orange Slice” Soap
Photo – https://www.youtube.com/watch?v=3L7rkLD-wUY
When I first heard of making soap at home, I thought of the difficult process of making it from scratch – which requires chemicals. I wasn’t even going to bother. However, after watching this video by SoapQueenTV, my previous misgivings of this process have been changed. You can make all kinds of different soaps with the use of a simple melt-and-pour soap base!
Tools and Materials Needed:
1. 8oz Honey Melt and Pour Soap Base
2. 3oz Clear Melt and Pour Soap Base
3. 2oz Shea Melt and Pour Soap Base
4. Orange Spice Fragrance Oil
5. Orange Mica
6. Sparkle Gold Mica
7. Circle Cutters
8. Plain Round Mold
9. Soap Syringe
10. Jute Bags (optional)
Comments/Suggestions:
1. Melt and Pour Soap packages are great to use at home because you only have to heat them up in the microwave. They are fuss-free and easy to work with. The trick to ensuring that your soap doesn’t burn is to use 30 second increments to heat your soap safely. The perfect pouring temperature of the soap is at 120-125 degrees Fahrenheit.
2. You don’t have to make the same fruit designs all the time. You can really put your creativity into high gear and make your own uniquely designed bars of soap! Instead of orange, you could also choose lemon or lime designs. Of course, use lemon essential oil if you want to go for this yellow fruit, or you can also choose a lime essential oil if you want to go for the green citrus fruit.
3. Use soap-friendly color dyes. Food or candle dyes could leave a stain on your skin. You wouldn’t want to look like an Oompa Loompa.
4. Aside from the fall-themed packaging idea of the video, why don’t you use small baskets? You can make different citrus fruit soaps like lemon, orange, lime or grapefruit (you can dye a part of the melted soap with a pink shade and dye another one with yellow for the rind) and then just arrange them in a basket, attaching a tag and a ribbon.
5. Keep these soap bars in a dry and cool place.
Ok, here’s the video:
