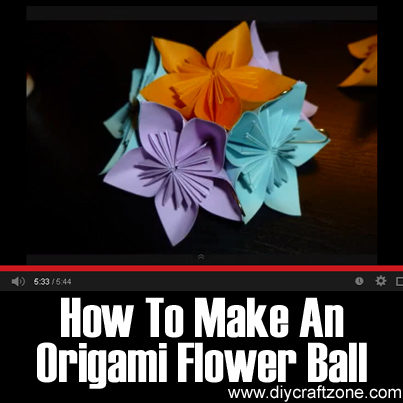
 How To Make An Origami Flower Ball
Photo – https://www.youtube.com/watch?v=_C45LRXmgjQ
Back when I was younger, my parents gave me an origami book complete with paper squares that I can use to practice origami with. I love to create figures out of different folds of paper! My first origami creation was a paper crane. It was sad that I wasn’t able to practice my skills but thankfully I was able to do origami again when my friend taught me how to make a rose. I soon learned how to fold orchids and other pretty flowers.
One day I came across this Origami Kusudama tutorial by Jenny W Chan and I naturally tried to make one of my own. It took me a little while to remember the folds but I was so happy when I was able to make my first one. I gave some of these paper flowers to my mom during Mother’s day and she was so delighted! This tutorial is great for those who are at the beginning stages of origami.
The key to making these origami flowers is to exercise patience. You might get a little confused with the steps but once you get used to it, you will be making these in no time at all. I even made my flowers look even more realistic. Here are some of my tips:
1. Add dimension by going over certain areas with paint. I like adding deeper colors on the inside of the petals so that they will look more realistic.
2. If you want the petals to dry well, use a clip to bind three petals together and another clip to bind the other two. Once the glue is dried, remove the clips and glue the segments together to make your kusudama flower. To make it easier, do this technique on all of the remaining petals so that you will be able to assemble them easily.
3. Try to use a barbecue or any wooden stick and attach it on the bottom of the flower (You can dip the top of the stick with glue). Wrap the stick with floral tape and you can also add a few faux leaves. Place the flowers in a mason jar or a vase.
4. Make kusudama flowers, paper orchids, and paper roses. Gather them together to create a pretty bouquet.
Ok, here is the video:
