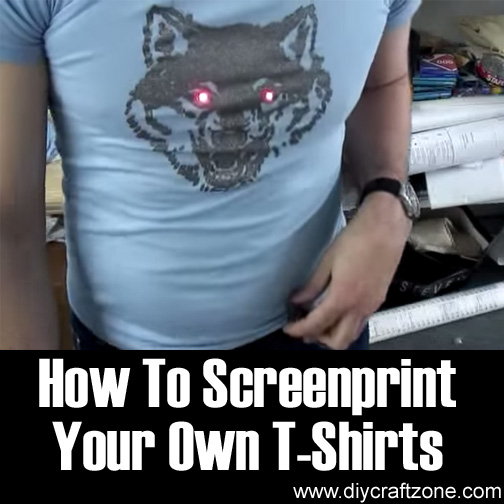
 Image – https://www.youtube.com/watch?v=Ee_8IMx0uMo
T-shirts are among the most comfortable, casual pieces of clothing that you can ever wear. Depending on the kind of material and print that your shirt is made of, you can dress it up for fun parties or just wear it with some jeans or shorts on casual days.
Printed shirts give a lot of character and personality to an outfit. They can also represent a group or a cause. We usually have our shirts printed at shops that offer personalized services.
If you’re interested in starting up a T-shirt printing business or just want to have the creative freedom of making your own designs, this tutorial by MAKE will teach you how to screenprint your own T-shirts!
Tools and Materials Needed:
1. Template of Choice (Printed on Transparent Film)
2. Silk Screen and Frame (110 Nylon Mesh)
3. Scoop Coater
4. Emulsion
5. Light Box
6. Scraper
7. Paint
8. T-shirts
Comments/Suggestions:
1. There’s nothing wrong with making mistakes, especially during your first attempts at creating your first printed shirt. If you made a mistake, you can have your own “Mentos moment” by printing the rest of your shirt. If you want, you can overlap the prints using different colored paints. Just make sure to let each color dry before printing the next layer. You may have this shirt printed or cut up the sleeves and the collar and turn it into a wacky print muscle tee!
2. Try tie-dyeing your shirts first before printing! If you love pastel shades, use less dye. If you want the colors to be vibrant, add more dye. Use a white paint to print a word, a short phrase or a lucky number.
3. If you find it a little difficult to screenprint your own shirt, here’s a simple way to bring a simple shirt to life: grab a few yards of printed fabric. Create a simple template on a piece of paper by drawing a few letters (to spell a positive word) or your favorite numbers. Use Heat n’ Bond and stick it on your printed fabric. Trace your template on the surface of the Heat n’ Bond and then cut the fabric into your desired shape/s. Arrange the cut shapes on your shirt until you’re satisfied. Use a hot iron to stick the fabric on the shirt. Wait for a few hours before using.
(If you don’t have Heat n’ Bond, you can still sew the edges of the fabric on the shirt)
OK, here’s the video:
